Unleash your inner stylist with our secrets to mastering the low taper fade. From tools to maintenance, we’ve got all the tips you need for success.
The Low Taper Fade is one of the most versatile and stylish haircuts for men, offering a clean, polished look that works for almost any occasion. Whether you’re heading to the office, gym, or a night out, this haircut is a timeless choice. However, mastering the art of doing a perfect low taper fade can seem intimidating, especially for beginners. In this detailed guide, we’ll walk you through everything you need to know about achieving a flawless low taper fade at home or in the barber chair. From tools and techniques to styling tips, this article will help you master the low taper fade like a pro.
Table of Contents
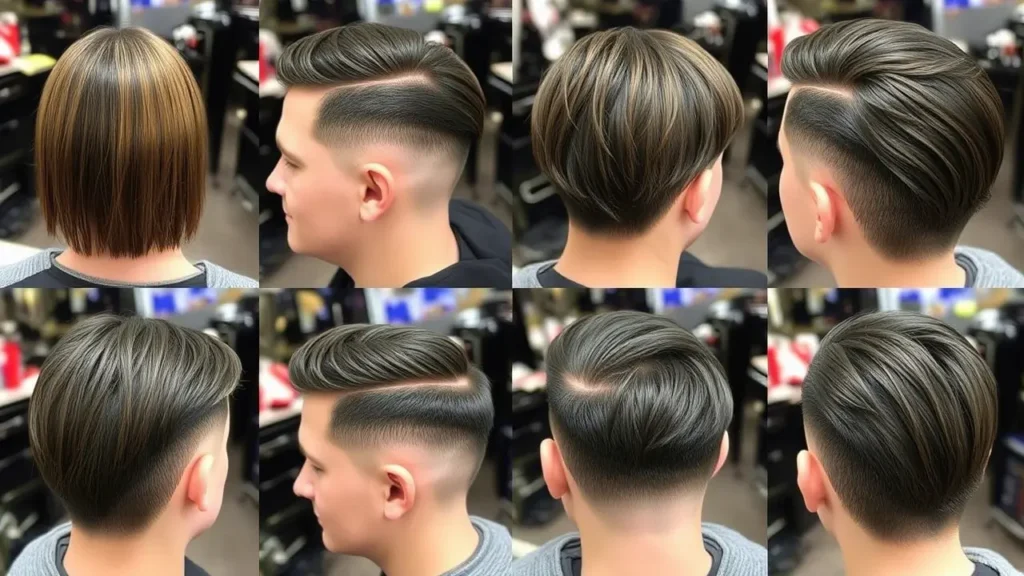
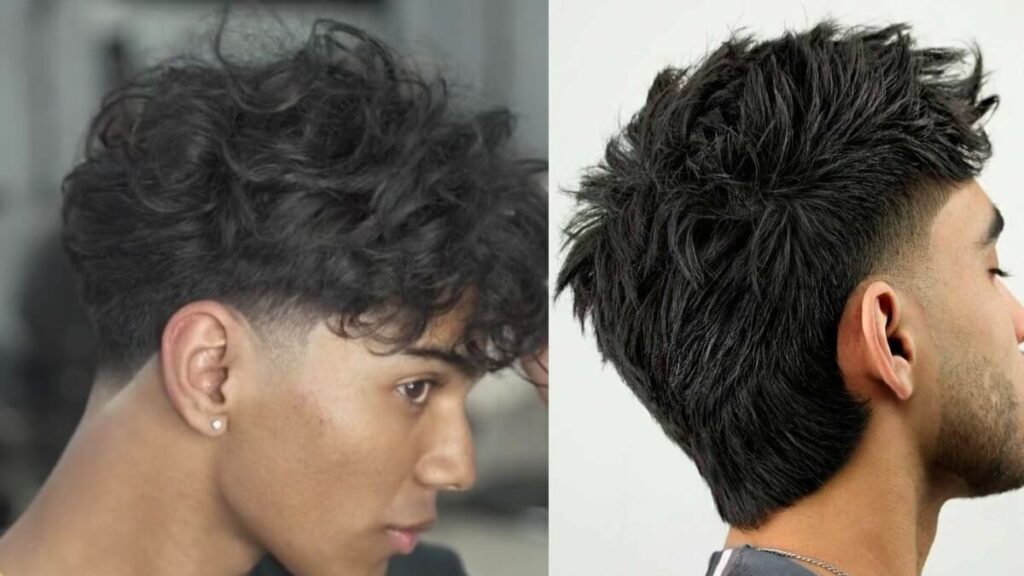
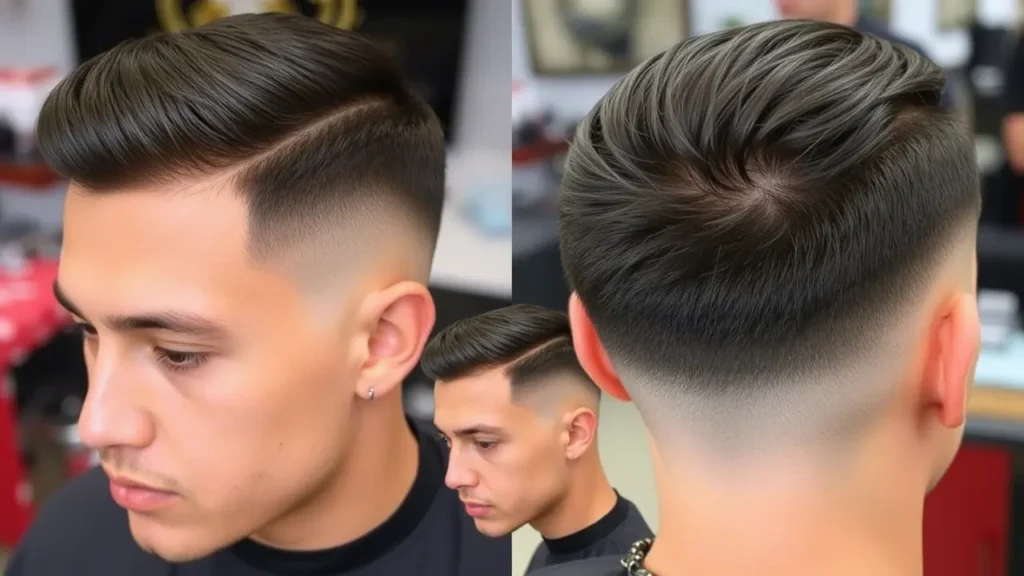
What is a Low Taper Fade?
A low taper fade is a haircut where the hair gradually tapers down to the skin, starting just above the ears. Unlike high fades, the transition begins lower on the head, creating a subtle yet striking look. The key to a perfect low taper fade lies in the smoothness of the transition and the precision of the fade. This style is ideal for men who want a clean-cut appearance without being too bold or dramatic.
Why Should Beginners Learn to Do a Low Taper Fade?
- Versatility: The low taper fade is suitable for all face shapes, hair textures, and personal styles.
- Low Maintenance: Once mastered, this haircut is relatively easy to maintain with regular touch-ups.
- Cost-Effective: Learning to do a low taper fade at home can save you money on frequent barber visits.
- Skill Development: Mastering the low taper fade is a great stepping stone for learning more advanced haircutting techniques.
Tools You’ll Need for a Perfect Low Taper Fade
Before you begin, make sure you have the right tools. Here’s a list of essentials:
- Clippers: A high-quality set of clippers with adjustable guards is crucial for achieving a smooth fade.
- Scissors: For trimming and detailing the top section.
- Comb: A fine-tooth comb helps in sectioning and blending the hair.
- Barber Cape or Towel: To keep your clothes clean during the process.
- Shaving Cream or Gel: For cleaning up the neckline and edges.
- Razor or Straight Edge: For a clean finish around the ears and neckline.
- Haircut Mirror: A double-sided mirror helps you see the back of your head while working.
- Styling Products: Pomade, wax, or texturizing spray for finishing touches.
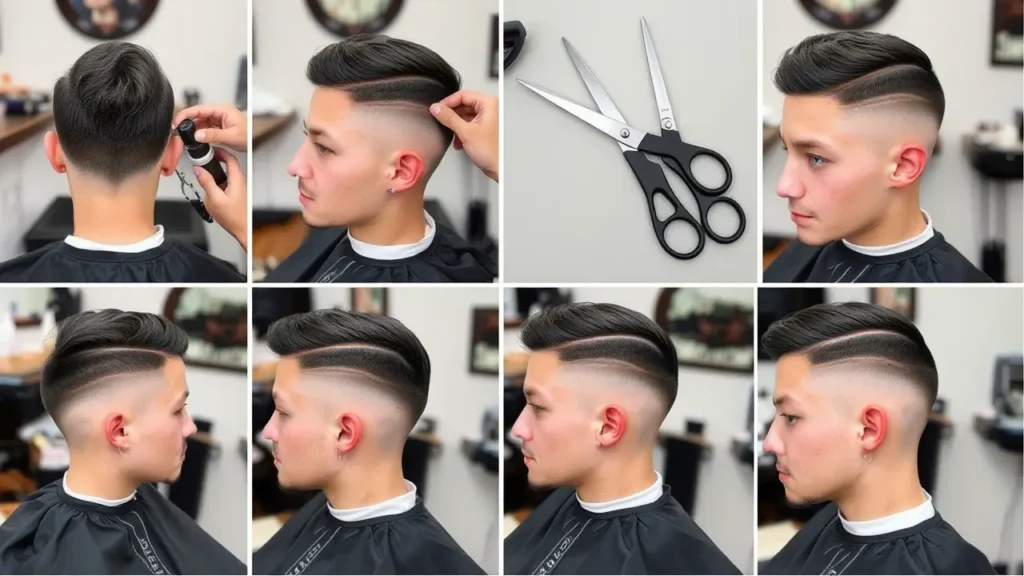
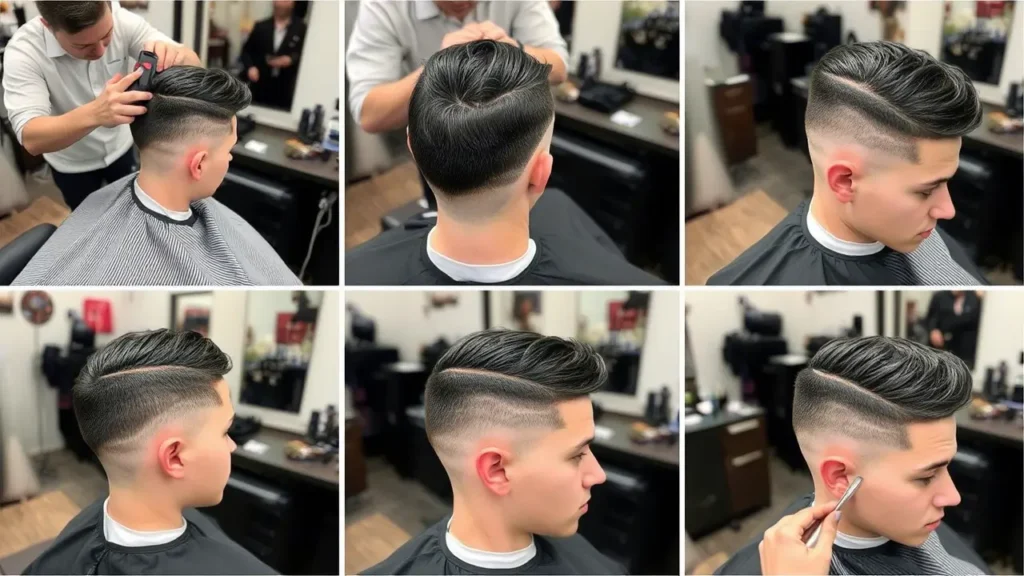
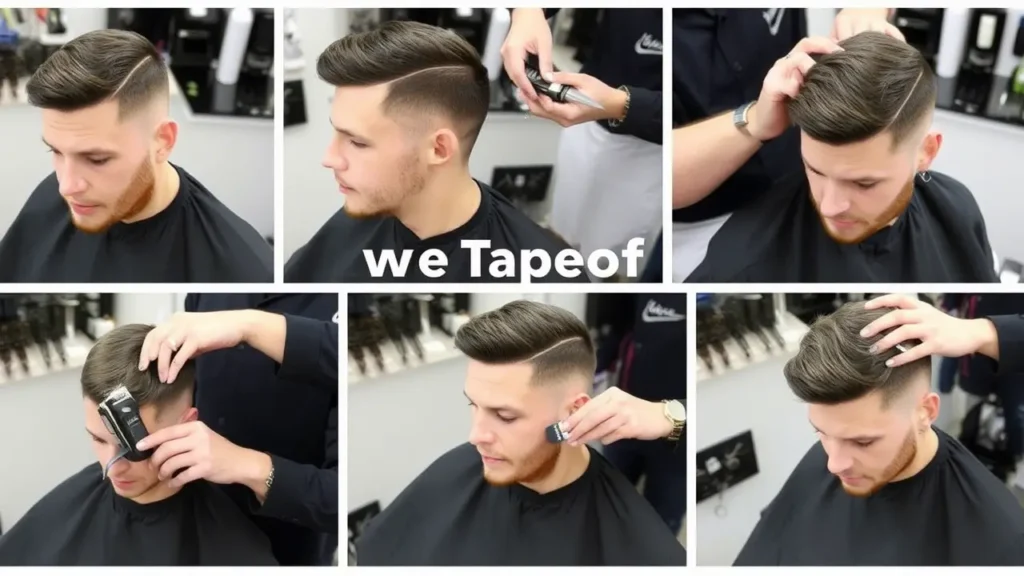
Step-by-Step Guide to Doing a Perfect Low Taper Fade
Step 1: Prepare the Hair
- Wash and Dry: Start by washing the hair to remove any dirt or product buildup. Dry it thoroughly before beginning the cut.
- Section the Hair: Use a comb to divide the hair into sections—top, sides, and back. Clip the top section out of the way using hair clips or rubber bands.
Step 2: Choose the Right Guard Size
- Start with a Higher Guard: Begin with a higher guard (e.g., #3 or #4) on the clippers to leave some length on the sides. This acts as a safety net for beginners.
- Gradually Lower the Guard: As you move downward toward the ears, switch to lower guard sizes (e.g., #1 or #0) to create the fade effect.
Step 3: Blend the Transition
- Use Your Clippers Without a Guard: Once you’ve used the guards to create the initial fade, remove the guard and use the bare clippers to blend the transition between the longer and shorter sections.
- Go Slow and Steady: Move the clippers upward in small, overlapping strokes to ensure a smooth gradient. Avoid rushing this step, as it’s crucial for achieving a seamless fade.
Step 4: Clean Up the Edges
- Neckline and Sideburns: Use a razor or straight edge to clean up the neckline and sideburns. Make sure the lines are sharp and even.
- Around the Ears: Carefully shave around the ears using a trimmer or razor for a clean, professional finish.
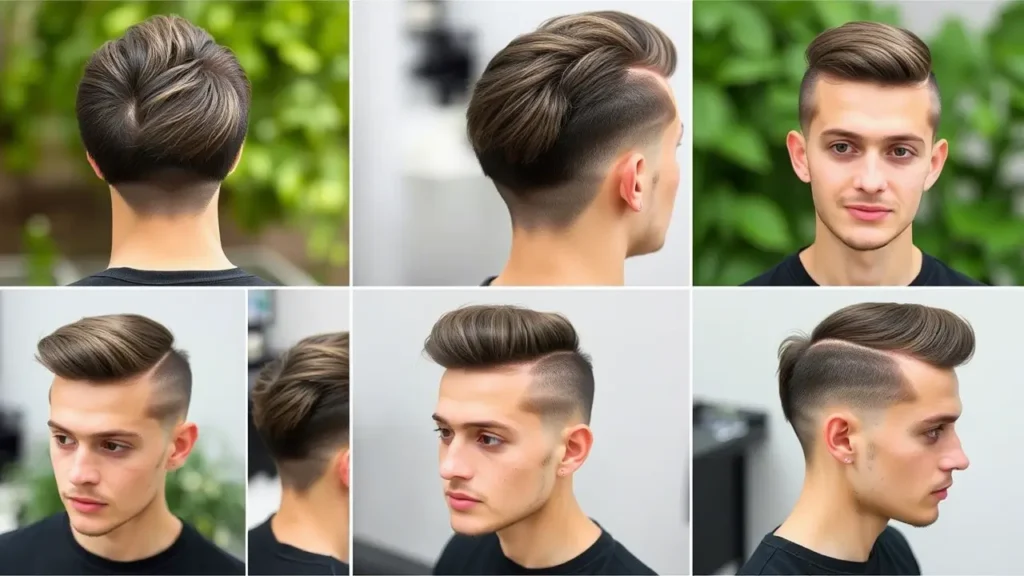
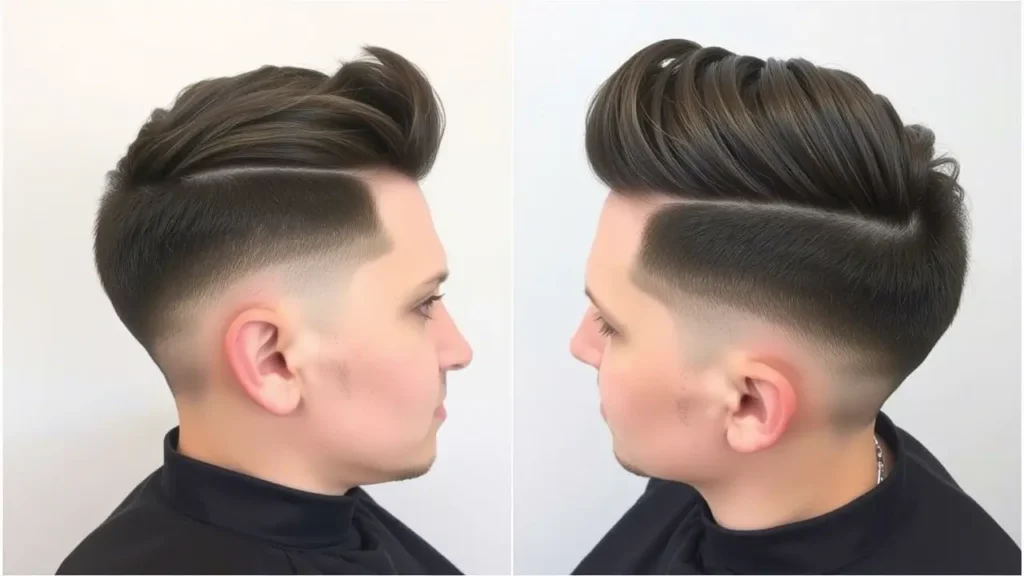
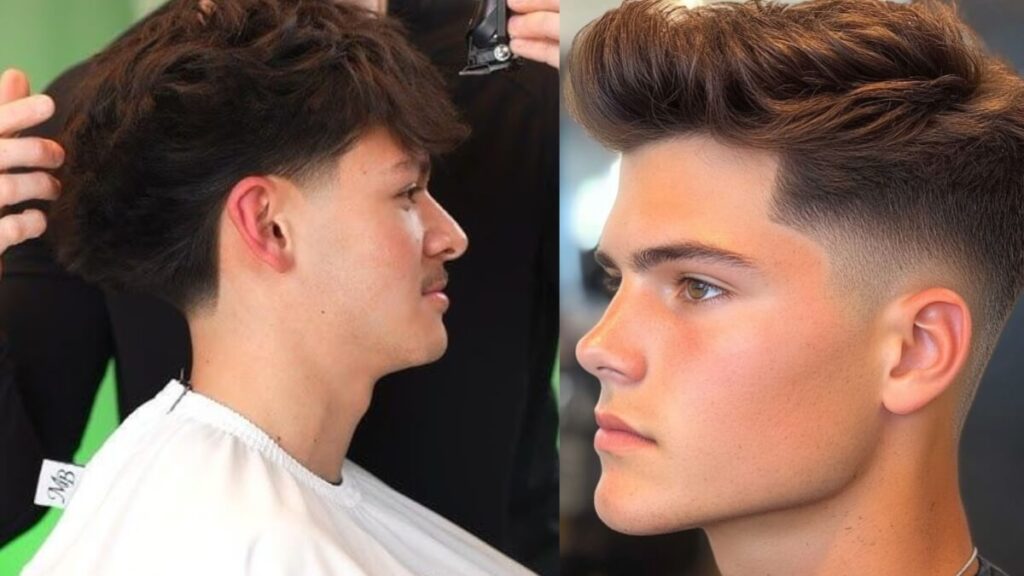
Step 5: Style the Top Section
- Trim the Top: Use scissors to trim the top section to your desired length. Keep it slightly longer than the sides to create contrast.
- Blend the Top with the Fade: Use clippers or scissors to blend the top section with the faded sides. This ensures a cohesive look.
Step 6: Finish with Styling Products
- Apply Product: Depending on your desired style, apply a lightweight pomade, wax, or texturizing spray to the top section.
- Style as Desired: Use your fingers or a comb to style the top section. Popular options include a slicked-back look, messy textured style, or side-parted finish.
Common Mistakes to Avoid

- Rushing the Process: Take your time, especially when blending the transition. Rushing can lead to uneven fades.
- Skipping the Blending Step: Blending is what makes the fade look natural. Skipping this step will result in harsh lines.
- Using Dull Tools: Ensure your clippers and scissors are sharp and in good condition. Dull tools can pull the hair and cause discomfort.
- Over-Shaving the Neckline: Be careful not to shave too high on the neckline, as this can look unnatural.
Tips for Maintaining a Low Taper Fade
- Regular Touch-Ups: Visit your barber or re-do the fade every 2-4 weeks to keep it looking fresh.
- Moisturize the Scalp: Use a moisturizing shampoo and conditioner to keep your scalp healthy and prevent irritation.
- Protect the Hair: If you use heat-styling tools, always apply a heat protectant spray to prevent damage.
- Experiment with Styles: Once you’ve mastered the fade, try different styles on top, such as slicked-back, textured, or spiky looks.
Conclusion
Mastering the perfect low taper fade may take some practice, but with the right tools, techniques, and patience, even beginners can achieve salon-quality results at home. This versatile haircut is a great choice for men who want a clean, stylish look that works for any occasion. By following this step-by-step guide and avoiding common mistakes, you’ll be well on your way to becoming a pro at doing low taper fades. So grab your clippers, practice regularly, and enjoy the satisfaction of creating a flawless fade!
Also Read…
How to Get The Rock’s Low Taper Fade: The Perfect Hairstyle for Men in 2025
Low Taper Fade with Volume on Top: The Hottest Hairstyle for Men in 2025
Mens Hair Trends 2025: Discover the Hottest Styles to Try Now
17 Low Taper Fade Ideas For 2025
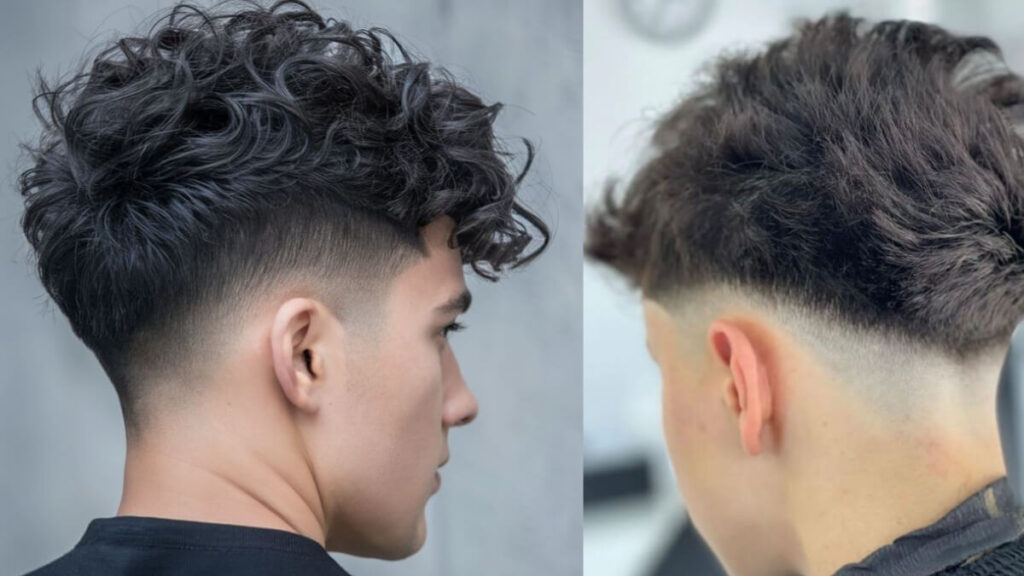
Curly Top Low Taper Fade for Straight Hair: The Ultimate Styling Guide!


Pingback: Low Taper Fade for Black Men: How to Achieve a Flawless Look - Low Taper Fade
Pingback: 30 Perfect Low Taper Fade Haircuts for Black Men - Low Taper Fade